ESP8266 + ArduinoOTA: Upload your sketches over the air
Presentation
In a previous tutorial we've seen how to use the ESP8266 in an autonomous way. To upload our sketches, we used a serial module that was connected to our computer. In this tutorial, we'll show you how you can get ride of any wire between your ESP8266 and your computer.
The only requirement will be that your ESP8266 and your computer are connected to the same WIFI network.
Circuit
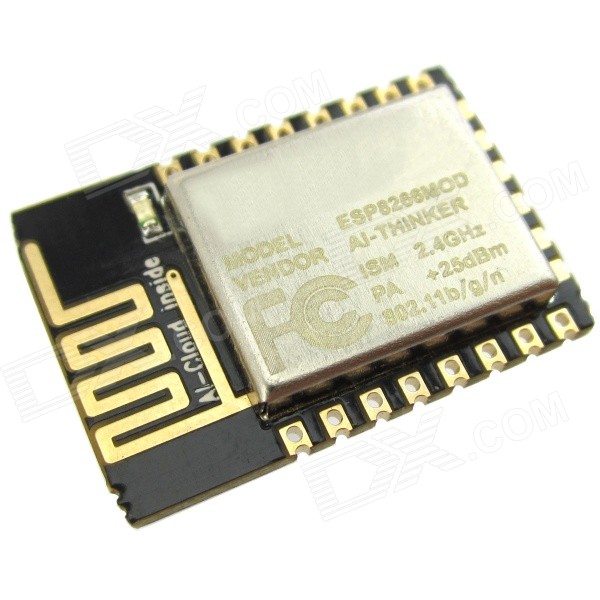
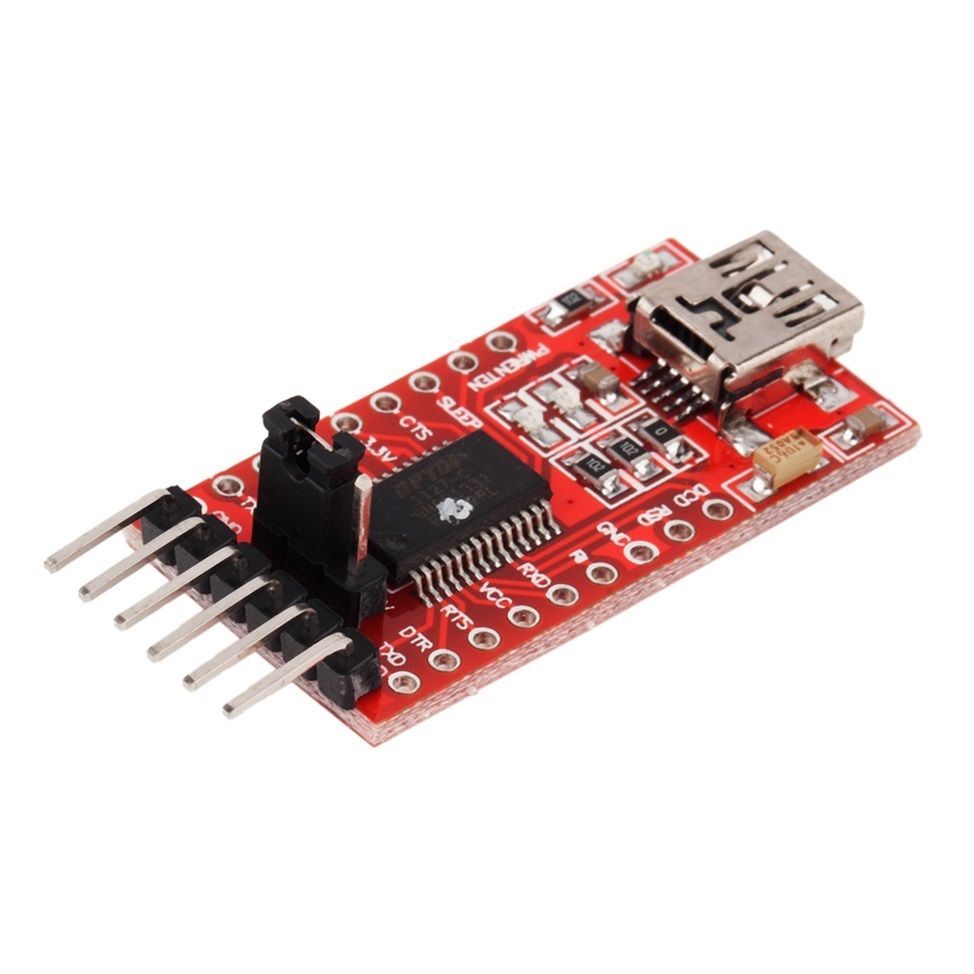
We will use the same circuit as the one described in Program an ESP8266 using Arduino IDE, ie. an ESP8266 ESP-12, connected to a FR232RL serial interface. Whereas the goal of this tutorial is to get ride of this interface, we'll need it to upload the very first sketch.
| Désignation | Prix unitaire | Quantité | Prix | |
|---|---|---|---|---|
|
WIFI module ESP8266-12 |
sur Banggood |
1 | 2.93 € |
|
FTDI FT232RL USB to TTL Serial Converter Adapter Module 5V&3.3V For Arduino GU |
sur Banggood |
1 | 3.7 € |
|
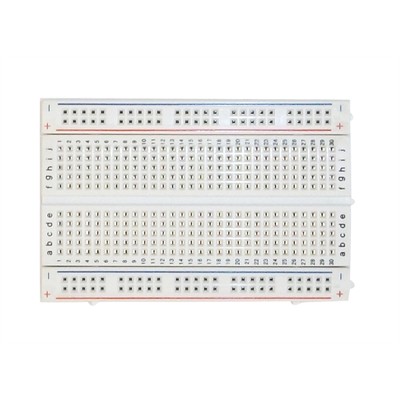
Platine de prototypage, ou breadboard |
sur Banggood |
1 | 1.3 € |
|
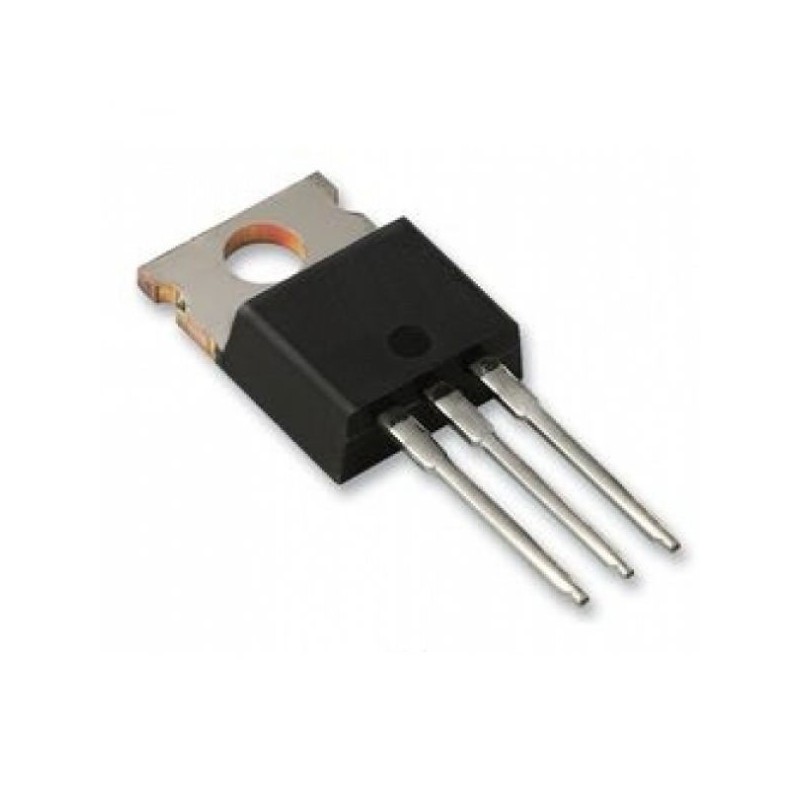
Régulateur 5v -> 3.3v |
sur Ebay |
1 | 0.48 € |
|
Régulateur 5v |
sur Banggood |
1 | 0.1 € |
| total | 8.51 € |
The sketch
We'll use a very straightforward sketch that does only one thing: connecting to our WIFI network :
#include <ESP8266WiFi.h>

const char* ssid = "Livebox-xxx"; // your wifi ssid
const char* password = "...."; // your wifi password

void setup() {
  WiFi.begin(ssid, password);
  while (WiFi.waitForConnectResult() != WL_CONNECTED) {
    delay(3000);
    ESP.restart();
  }
}

void loop() {
}
In order to make our sketch OTA-ready, we only have to add 3 instructions :
#include <ESP8266WiFi.h>

#include <WiFiUdp.h>
#include <ArduinoOTA.h>

const char* ssid = "Livebox-xxx"; // your wifi ssid
const char* password = "...."; // your wifi password

void setup() {
  WiFi.begin(ssid, password);
  while (WiFi.waitForConnectResult() != WL_CONNECTED) {
    delay(3000);
    ESP.restart();
  }

  ArduinoOTA.setHostname("monEsp"); // give an name to our module
  ArduinoOTA.begin(); // OTA initialization
}

void loop() {

  ArduinoOTA.handle();
}
Before you upload the sketch, verify in the "Tools" menu that "Flash size" is set properly (if you're using an ESP8266 ESP-12, it should be 4M (1M SPIFFS). You can now upload your sketch.
Restart your Arduino IDE. Your should see a new entry in "Tools >" Port" :
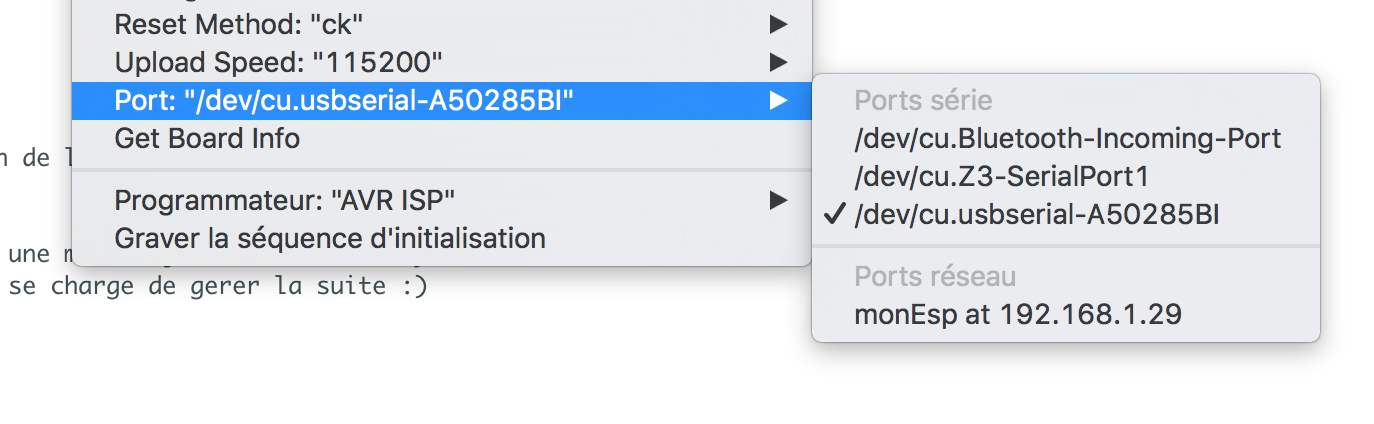
Select "monEsp at...". Your can now unplug your serial connection wires and try to upload your sketch another time, and it should work :)